 Web HostingCost-effective shared hosting solutions
 Reseller HostingStart your own hosting business without tech hustle
 Affiliate ProgramEarn commission by referring customers to our platforms
 cPanel HostingHosting powered by cPanel (Mostly user friendly)
 Windows HostingOptimized for windows based-applications and sites
 Domain SearchFind and register available domain names in seconds
 All DomainsExplore and register domain extensions across the world
 Whois LookupLook up domain ownership, expiry dates and registrar information
 .com DomainSecure the most recognized domain for global credibility
 VPS HostingScalable virtual servers. Full root access. Faster speed.
 Managed VPSNot a tech expert? Choose our fully managed VPS server.
 Dedicated ServersGet the full power and complete control of your own physical server.
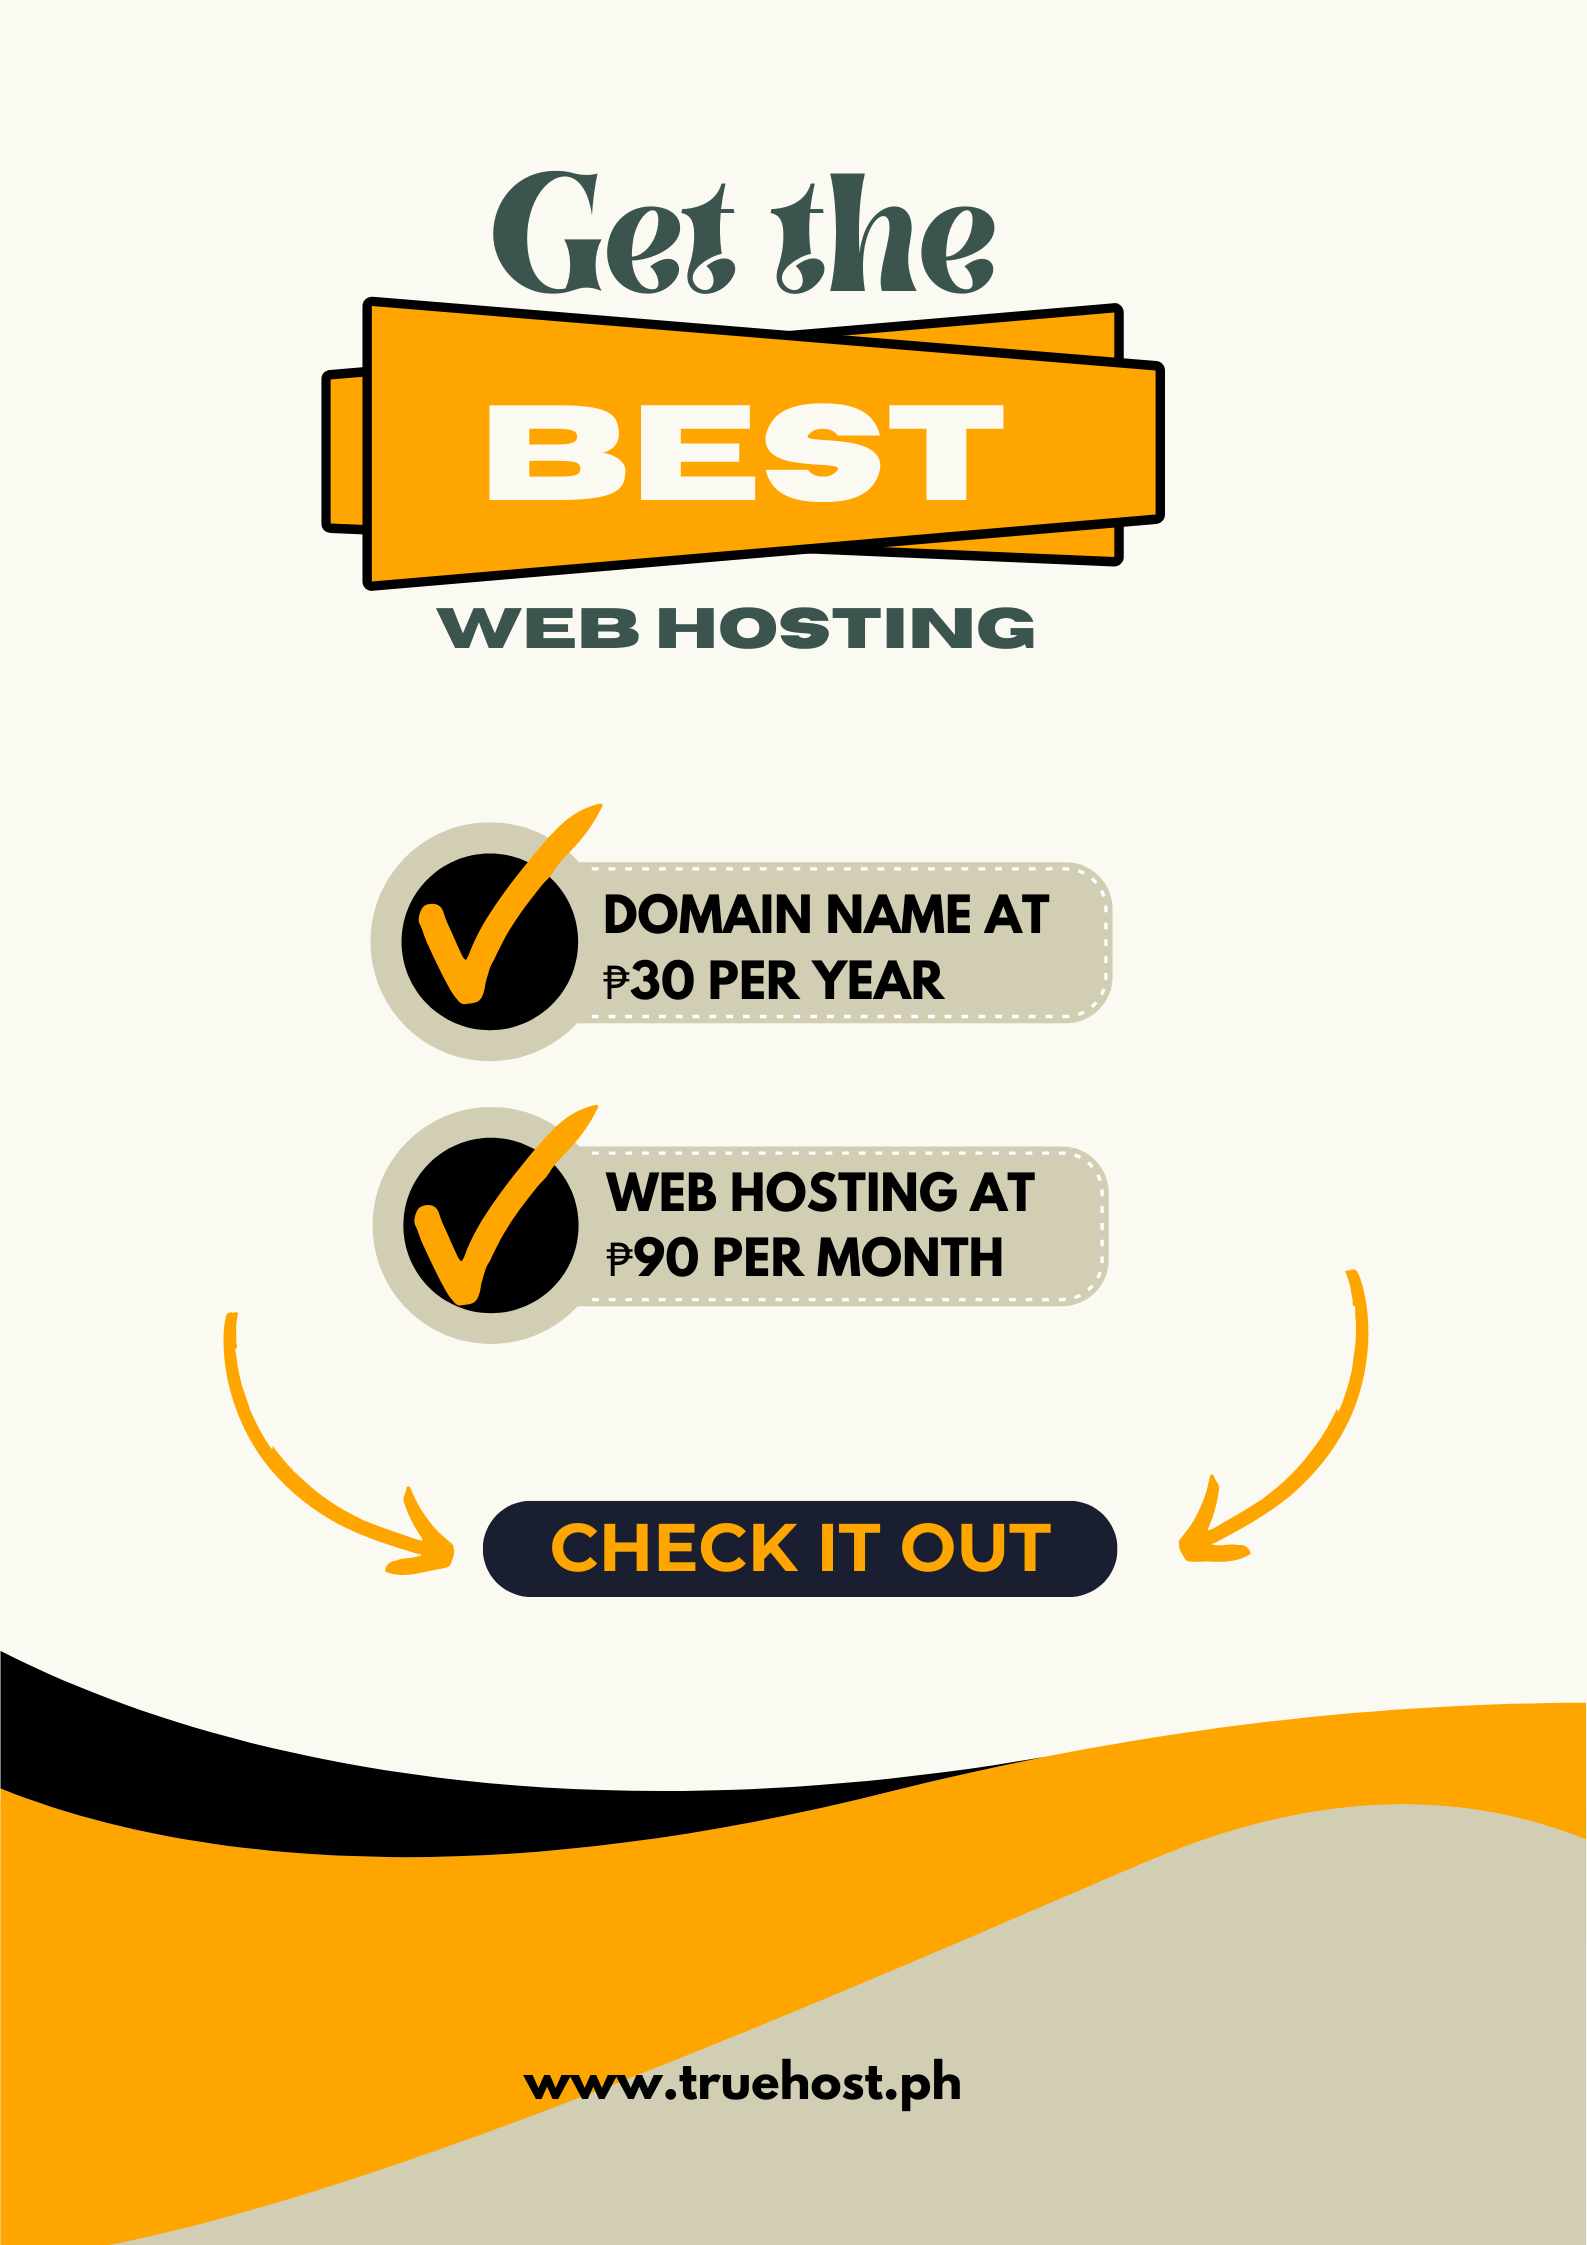
You’ve got the better product. Your customers love you, and reviews are great.
But when someone in Makati searches for “salon near me” or “best bakery in Quezon City,” they find your competitor instead.
It stings, doesn’t it?
This isn’t luck. Your competitor is ranking higher because they’ve connected their .ph domain to their Google Business Profile — the right way. Google rewards that clarity with visibility.
You can do the same. It’s not complicated; you just need to know which steps to take.
What You’ll Learn
- How to connect your .ph domain to Google Business Profile
- Which sections influence local rankings most
Why Your .PH Domain Needs Google Business Profile
Your .ph domain already tells Google you’re a Philippine business. That’s great — but it’s only part of the story. Google still needs more proof:
- Where in the Philippines you’re located
- What services you offer
- That real customers trust you
That’s where Google Business Profile (GBP) comes in.
When your .ph domain and Business Profile align, same name, address, and contact, Google sees consistency. And in local SEO, consistency builds trust, which leads to higher rankings.
Think of your .ph domain as your online address and your Business Profile as the sign pointing customers right to your door.
How to Optimize Your .PH domain for Google Business Profile
Ready to put this into action? Here’s exactly how to connect your .PH domain to your Google Business Profile, one simple step at a time.
Step 1: Claim Your Google Business Profile
Before you connect anything, Google must know you own the business. That’s what claiming your profile does.
If your business is already listed:
- Visit [google.com/business](https://google.com/business) and sign in.
- Search for your business name.
- Click “Claim this business” or “Own this business?” and follow the prompts.
If your business is new:
- Go to [google.com/business](https://google.com/business).
- Click “Add your business.”
- Enter your business name and contact info.
Choose your business type:
- Storefront – customers visit you
- Service area – you visit customers
- Hybrid – both
Choosing the right type helps Google show you the right local results. Don’t forget to verify your profile.
Verification:
Google will send a postcard with a PIN to your business address usually 5–7 days. Enter that PIN to verify ownership. Until then, your profile won’t appear in search results.
Once your profile is verified, the next step is to link it to your .PH domain. That’s what truly completes your digital presence.
Step 2: Connect Your .PH Domain
After your profile is verified, it’s time to link your .ph domain. This tells Google your website and business listing belong to the same brand.
In your Business Profile dashboard:
- Open the “Info” tab.
- Find the “Website” field and add your full .ph URL.
Ensure your business name, address, and phone number match your website exactly.
Even minor differences (like “Ave.” vs. “Avenue”) can confuse Google. Consistency builds authority.
Step 3: Add the Right Business Categories
Next, help Google understand what you do.
Choose your primary category carefully. This usually determines which searches you’ll appear in. Add secondary categories only when they’re relevant.
Example:
A “Bakery” can also add “Café” or “Pastry Shop,” but not “Catering Service” unless that’s part of your operations.
Relevant categories ensure your business appears in searches that actually match what you offer.
Step 4: Write a Clear Business Description
As your profile takes shape, tell your story.
Use this section to describe who you are, what you offer, and why locals should choose you. Keep it short, authentic, and keyword-friendly.
Example:
“At Golden Crust Bakery, we’ve been baking fresh pandesal and ensaymada for Quezon City residents since 2010. Locally owned, family-run, and proud to serve the community.”
Focus on clarity, not keyword stuffing. Write for people first, and Google will follow.
Details matter, but visuals seal the deal. Let’s talk about the photos that attract clicks.
Step 5: Upload Quality Photos and Videos
Strong visuals make your listing trustworthy and engaging. Businesses with photos get more clicks and direction requests.
Add:
- Your logo and cover photo
- Exterior shots because they help customers find you.
- Interior photos show your atmosphere
- Product photos as they highlight what you sell
- Team photos add a human touch
Upload fresh visuals regularly, even once a month helps. Photos grab attention, but consistency builds trust. Your next step ensures both.
Step 6: Keep Business Hours and Contact Info Accurate
Accuracy matters more than you think.
Add your full operating hours, including weekends or holidays. Make sure your phone number, email, and address match your website exactly.
If anything changes, update both your Business Profile and website immediately. Google prioritizes accurate, current data because it signals reliability.

Step 7: Gather and Respond to Reviews
Reviews build credibility and directly influence rankings.
Encourage satisfied customers to leave feedback, and always respond.
An example of a positive review and responding to a negative review is:
“Thank you, Ana! We’re happy you loved our pandesal.”
“Sorry about your experience, Marco. Please message us so we can make it right.”
Active, professional engagement shows Google and customers that your business listens and cares.
Step 8: Post Regular Updates
To stay visible, keep your profile active.
Use Google’s Posts feature to share:
- Promotions or new arrivals
- Events and milestones
- Special announcements
Posting weekly or biweekly keeps your profile relevant and signals to Google that your business is active.
Step 9: Monitor Insights
Check your Insights tab regularly. It tells you how customers discover and interact with your business.
Watch for:
- The keywords people use to find you
- Clicks to your website
- Calls or direction requests
- Your most-viewed photos
Use this data to fine-tune your website content and posts. If many users find you for “best bakery in Makati,” naturally use that phrasing in future content.
Step 10: Keep Everything Consistent and Updated
Finally, consistency keeps your visibility strong.
Revisit your profile monthly. Update hours, services, or locations whenever they change. Also reflect those updates on your .ph website too.
Google values active, consistent Profiles. It’s because it signals trust, and trust keeps you ranking high.
Conclusion: Make Your .PH Domain Work for You
Connecting your .ph domain to your Google Business Profile isn’t just technical work. It’s how you show Google that your business is real, local, and trustworthy.
Each accurate detail and small update adds to your credibility. Stay consistent, keep engaging, and your business will rise in Philippine local searches where it truly belongs.